

If you’ve ever hung blinds that looked great in the box but left bright light lines around the edges, you’re not alone. A small measuring slip can mean less privacy and more glare, and with custom blinds, that often means reordering.
This guide walks you through how to measure for outside mount blinds so they sit where you want them, cover what they should, and clear trim and handles – using the same practical steps we use every day in Surrey, Vancouver, and the Lower Mainland.
Below you’ll find a tools list, simple diagram-style sketches, and exact overlap distances for light-filtering vs blackout fabrics. By the end, you’ll know what numbers to send in when you order custom blinds or book a free in-home measure.
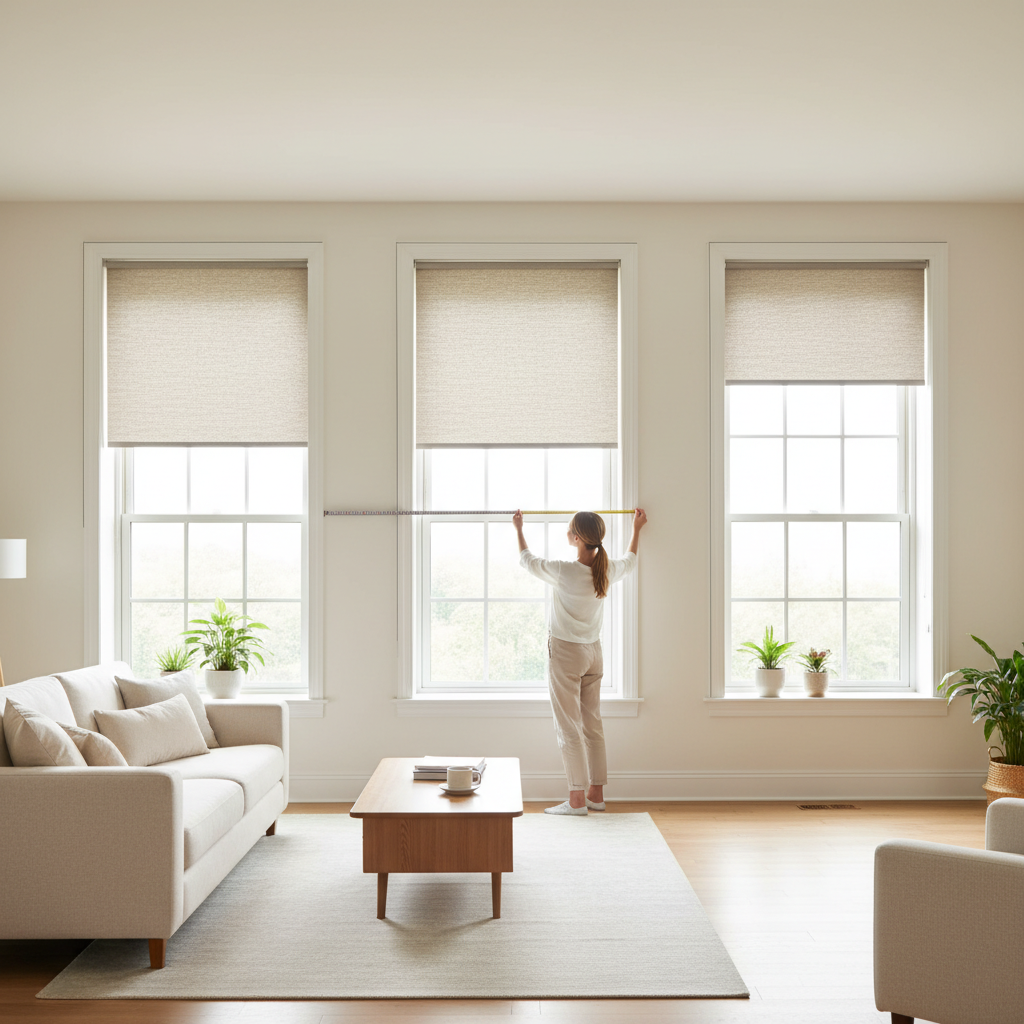 A wide, wall-mounted outside-mount blind layout was measured with a steel tape for accurate coverage.
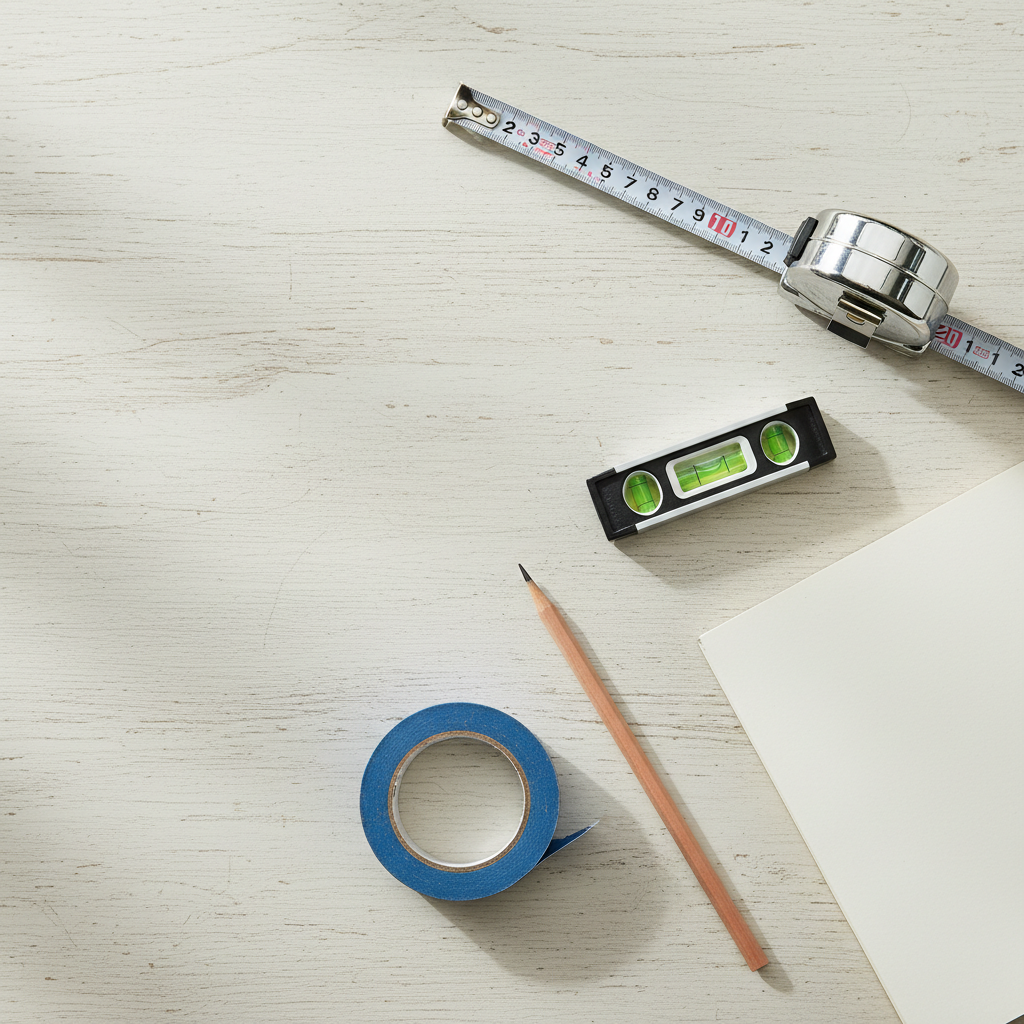 Essential tools for measuring outside mount blinds: steel tape, level, pencil, painter’s tape, and a notepad.
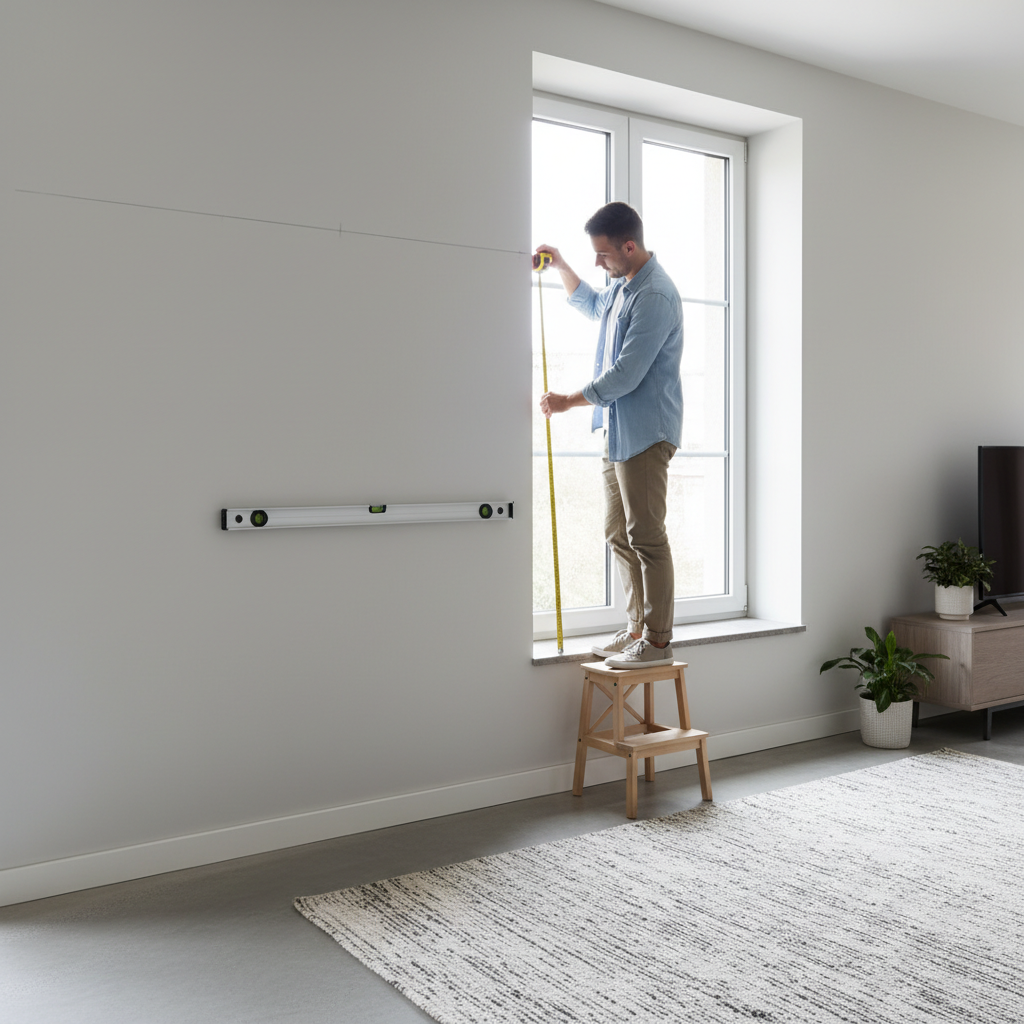 Measure from your chosen top line down past the sill to set the finished height for outside mount blinds.
Want every bit of extra darkness for shift work or a nursery? Pair an outside mount blackout shade with side channels or layer over existing inside mount shades. For inspiration on pairing styles, take a look at our motorized blind options.
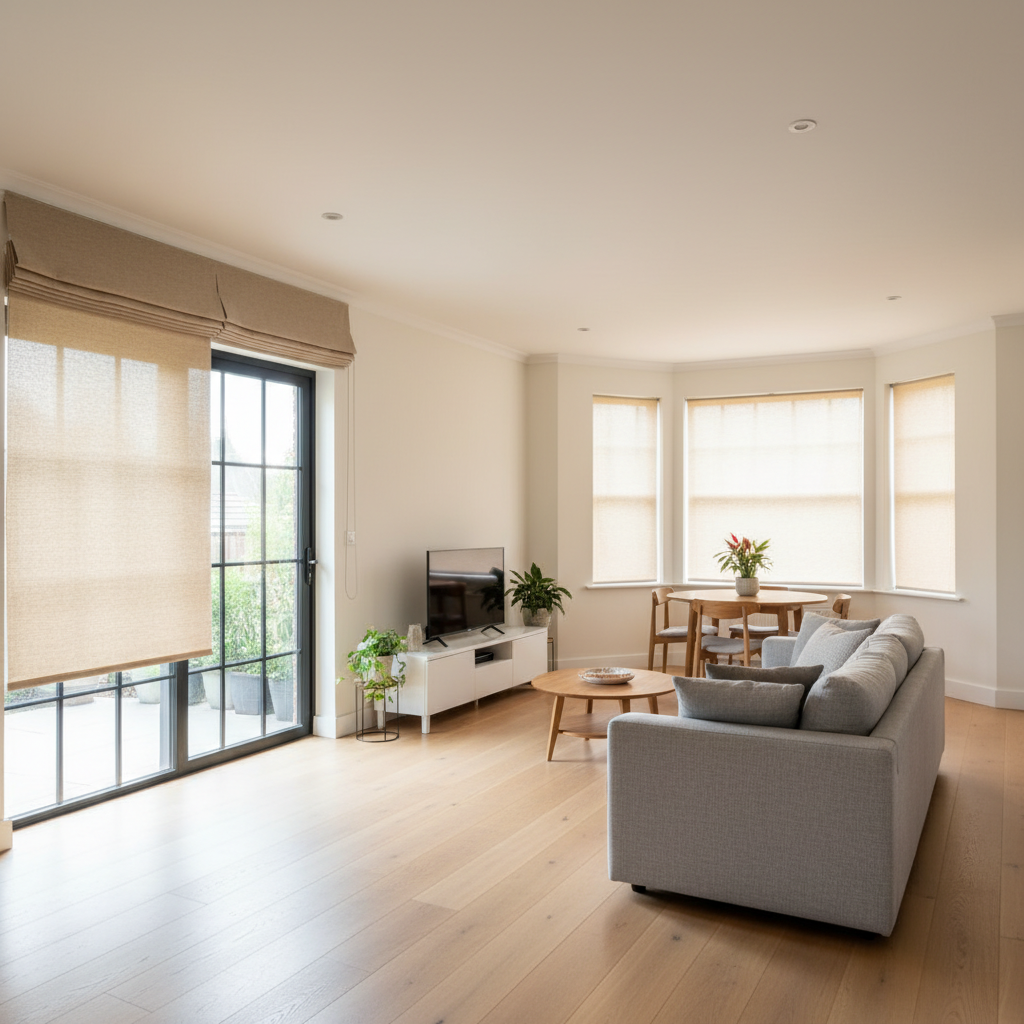 Outside mount blinds over patio doors and bay windows provide extra overlap and light control.
A wide, wall-mounted outside-mount blind layout was measured with a steel tape for accurate coverage.
TL;DR – Quick Outside Mount Measuring Cheat Sheet
- Use a steel tape; measure to the nearest 1/8″.
- Add 1.5–2″ per side for light-filtering blinds.
- Add 2–3″ per side for blackout or room-darkening shades.
- Add 2–4″ above the opening for the headrail and fabric roll.
- Add at least 2″ below the sill or trim (more for tall, “draped” look).
- Write width first, then height: W × H, and label each window.
Outside mount vs inside mount: when it makes sense
With an inside mount, the blind sits inside the window frame. With an outside mount, the blind or shade sits on the wall or trim and overlaps the opening. Both can look great, but outside mount shines in a few situations:- Your window frame is too shallow for an inside mount headrail.
- The frame is out of square and you want straighter, cleaner lines.
- You want better room darkening for bedrooms or media rooms.
- You’d like to cover old trim or drywall imperfections around the window.
Tools you’ll need (and why they matter)
- Steel tape measure (not a fabric tape) – holds straight and gives accurate readings.
- Level – helps you mark a straight, level line for the top of your blind.
- Pencil or painter’s tape – to mark where brackets and overlaps will land.
- Step stool or ladder – so you can reach above the window safely.
- Notepad or phone – to record width and height for each window.
Essential tools for measuring outside mount blinds: steel tape, level, pencil, painter’s tape, and a notepad.
Key measuring terms: width, height, and overlap
Before we get into numbers, two quick terms you’ll see throughout this guide:- Window opening – the visible glass area plus any trim you want to cover.
- Overlap – how much farther past the opening the blind will extend on each side, above, and below.
Step-by-step: how to measure for an outside mount
Step 1 – Decide where the blind will sit
Stand back and look at the window. Ask yourself:- Do I want the blind mounted on the trim or on the wall above it?
- Are there obstacles like window cranks, handles, or tile that I need to clear?
- Is there enough space above the opening for the headrail and brackets (usually 2–4″)?
Step 2 – Measure the window opening width
- Measure the full width of the opening from outer edge to outer edge of the area you want covered.
- Record this as your opening width.
- Add side overlap (more on exact numbers below) to both sides to get your finished width.
- Opening width: 48″
- Side overlap for blackout shade: 2.5″ per side
- Finished width: 48″ + 2.5″ + 2.5″ = 53″
Step 3 – Measure the finished height
Next, measure from your proposed top line down to where you’d like the blind to end:- For windows with a sill, many homeowners like the blind to stop right at the sill or 1–2″ below.
- For windows with no sill, measure down to your preferred stopping point (usually slightly below the lower trim line).
- Top overlap usually ranges from 2–4″ above the opening, depending on headrail size and how much extra light blocking you want.
- Opening height: 52″
- Top overlap: 3″
- Bottom below sill: 2″
- Finished height: 52″ + 3″ + 2″ = 57″
Measure from your chosen top line down past the sill to set the finished height for outside mount blinds.
Step 4 – Check for obstacles and clearance
- Will the blind clear window handles or cranks when lowered?
- Is there crown moulding or a bulkhead above the window that limits how high you can mount?
- Will the bottom of the blind hit a radiator, tile backsplash, or furniture on the wall?
Step 5 – Record your measurements clearly
For each window, write:- Location (e.g., “Primary bedroom – east wall, left window”).
- Mount type: Outside mount.
- Finished size: Width × Height, to the nearest 1/8″.
- Notes: Any special clearance issues or preferences (e.g., “clear crank handle,” “cover tile edge”).
Recommended overlap distances (with chart)
Overlap is where most of the guesswork happens, so here are simple ranges we use as a starting point on real projects. Adjust a little based on window size and how much light you want to keep out.| Blind / Shade Type | Side Overlap (each side) | Top Overlap | Bottom Overlap |
| Light-filtering roller / zebra | 1.5–2″ (4–5 cm) | 2–3″ (5–7.5 cm) | 2″ (5 cm) below sill or trim |
| Room-darkening / blackout | 2–3″ (5–7.5 cm) | 3–4″ (7.5–10 cm) | 2–4″ (5–10 cm) below sill or trim |
| Vertical blinds for patio doors | 2–3″ (5–7.5 cm) | 2–4″ (5–10 cm) | Just clear floor or baseboard by 0.5–1″ |
Special cases: doors, bay & corner windows
Sliding doors and patio doors
- Measure the full frame width and add 2–3″ per side so vanes or fabric clear the glass completely.
- Mount 3–4″ above the frame so the hardware clears the door frame and any trim.
- Stop the blind or vertical about 0.5–1″ above the floor to prevent dragging.
Outside mount blinds over patio doors and bay windows provide extra overlap and light control.
Bay and bow windows
For bays and bows, you can either give each section its own blind or span them with one wide outside-mount shade. Because angles and trim vary, many homeowners prefer a pro measure:- Individual blinds – treat each window as its own outside mount, overlapping onto the mullions.
- One large blind – measure the widest point across and add a generous overlap so the blind clears angled trim.
Windows with deep sills or radiators
If a sill or radiator projects out, focus on clearance:- Mount brackets far enough out that the fabric doesn’t rub the sill’s front edge.
- Set the finished height so the hem bar stops just above any hard surface.
Common measuring mistakes
After years of in-home measures, we see the same issues come up. Here’s how to stay one step ahead:- Mixing up width and height – always write measurements as width × height, in that order.
- Underestimating side overlap – sizing only to the trim line leaves bright strips of light and makes out-of-square openings more obvious.
- Assuming windows are identical or “close enough” – two windows in the same room can differ by up to 1/4″, so measure each one to the nearest 1/8″ instead of rounding aggressively.
FAQ: How do you measure for outside mount blinds?
How do you measure for outside mount blinds in one simple summary?
Measure the width of the area you want to cover, add side overlap (1.5–2″ per side for light-filtering, 2–3″ per side for blackout), then measure from your desired top line down to where you want the blind to end, adding 2–4″ above the opening and at least 2″ below the sill or trim. Record the final numbers as finished width × finished height for each window.Do outside mount blinds block more light than inside mount?
Usually, yes. Because the blind overlaps the wall or trim, it reduces side light gaps. That’s why we often suggest an outside mount for bedrooms, nurseries, and media rooms, especially when paired with room-darkening fabrics or blackout liners.Should I measure in inches or centimetres?
Either is fine as long as you stick to one system and tell your blinds supplier which one you used. In Canada, most custom blind orders are placed in inches to the nearest 1/8″.What if my measurements aren’t perfect?
Small differences can sometimes be managed with bracket placement, but larger errors may mean the blind doesn’t fit the way you hoped. If you’re not fully confident measuring, Ray Blinds offers free in-home measuring and quotes so you don’t have to worry about it.Get expert measuring & installation in Surrey and Vancouver
Measuring for an outside mount isn’t complicated, but details matter—especially with blackout fabrics, large patio doors, or bay windows. If you’d rather a pro handled it, our team can bring samples, measure your windows, and install your blinds once they’re made. Ray Blinds designs, manufactures, and installs custom zebra, honeycomb, roller, and motorized blinds throughout Surrey and the Greater Vancouver / Lower Mainland region.Get Custom Blinds for Your Home
Need help getting the right blind fit? Ray Blinds provides custom measuring and window blinds for homes in Surrey, Langley, Vancouver, and across the Lower Mainland.
Get a Free Quote