

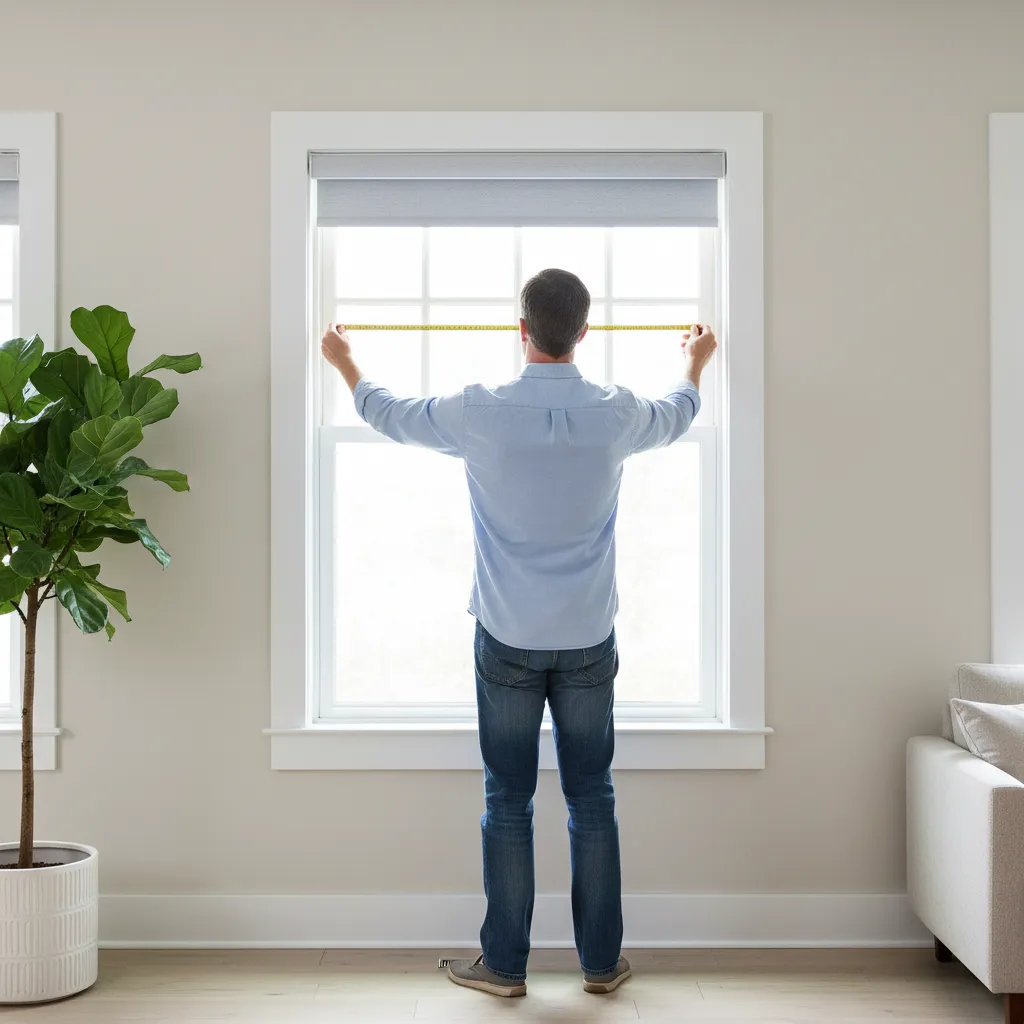
Accurate measurements for inside mount blinds start with a steel tape and a clear view of the window frame.
If you’re wondering how to measure for inside mount blinds and you’re staring at your window with a tape measure and mild panic, you’re not alone. A few millimetres off can mean blinds that scrape, leave gaps, or refuse to move smoothly, so this guide walks you through a clear, repeatable measuring order, simple diagrams, and the small details that turn a so-so fit into a clean, built-in look.
TL;DR: Quick reference for busy homeowners
- Use a steel measuring tape and a simple notes sheet for each window.
- Follow the branded 3×3 inside mount method: 3 width checks, 3 height checks, plus a quick depth check for every opening.
- Use the narrowest width and the longest height, recorded as Width × Height (W × H) to the nearest 1/8″ (or 0.1 cm).
- Confirm there’s enough frame depth and note any locks, cranks, or handles that might touch the blind.
“The biggest measuring win? Three measurements in both directions, every single time.”
Tools you’ll need
- Steel measuring tape (inches or centimetres)
- Notepad or phone notes (one line per window)
- Step stool for taller windows
- Pen or marker
Create a simple table for each window, for example:
Kitchen sink window
Width: Top ___ Middle ___ Bottom ___
Height: Left ___ Centre ___ Right ___
Depth: ___
Still deciding between zebra blinds, roller shades, or honeycomb/cellular shades? The same measuring method works for all standard inside mount blinds and shades and aligns with major retailer guides like Home Depot’s measuring guide for blinds and shades.
Inside mount vs outside mount: are you choosing the right style?
Inside mount blinds sit inside the window frame, showing your trim and giving a built-in look. Outside mount blinds sit on or above the frame and cover a bit of wall or trim.
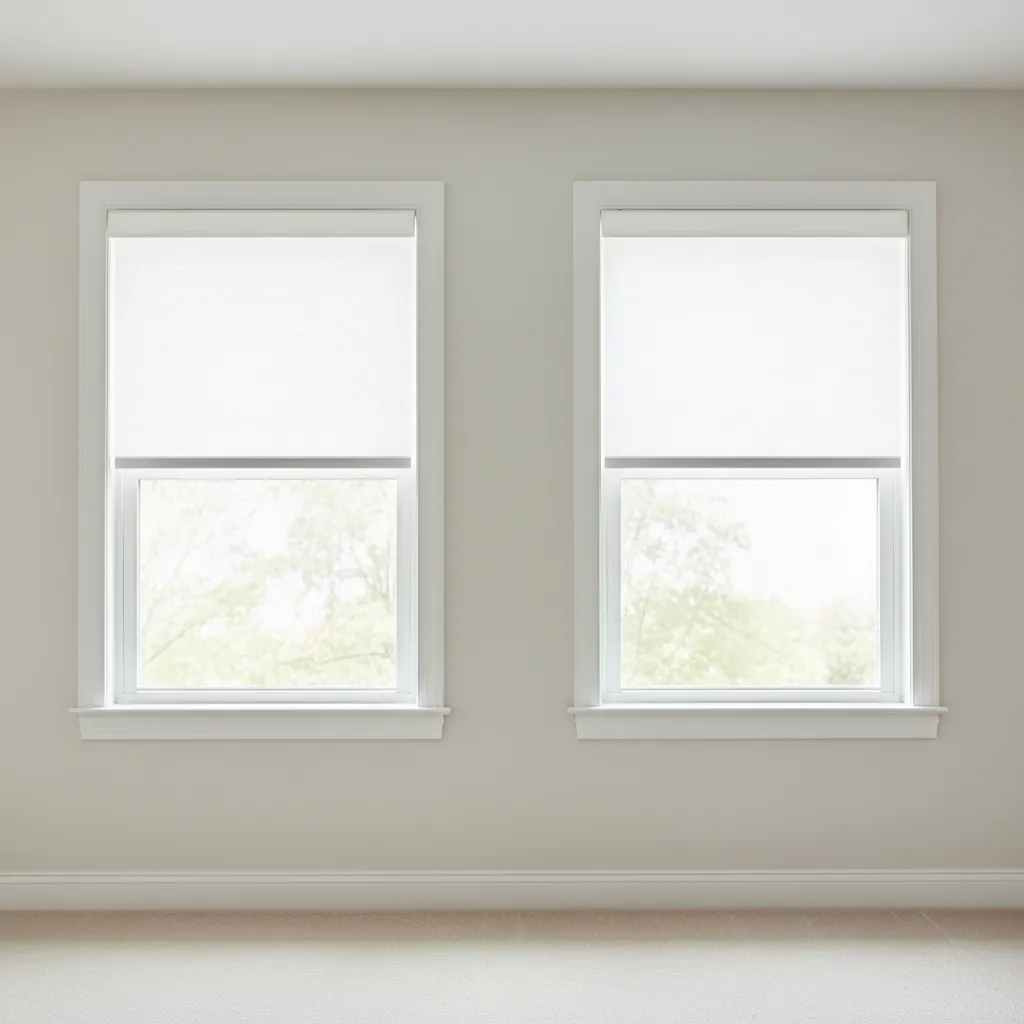
Inside mount blinds sit neatly within the window frame, while outside mount blinds are installed above the frame and cover part of the wall or trim.
Choose inside mount for:
- Modern roller, zebra, and honeycomb shades
- Deep vinyl or wood-framed windows
- Rooms where you want a clean, minimalist look
Choose outside mount when:
- The window recess is very shallow
- There are handles, locks, or cranks in the way
- You want blackout-style coverage in a bedroom
If you’re on the fence after reading this section, you can always book a free in-home consultation, and we’ll walk you through which windows are better suited to inside vs outside mount.
Step 1: How to measure inside mount blinds for width
1. Measure width in three places
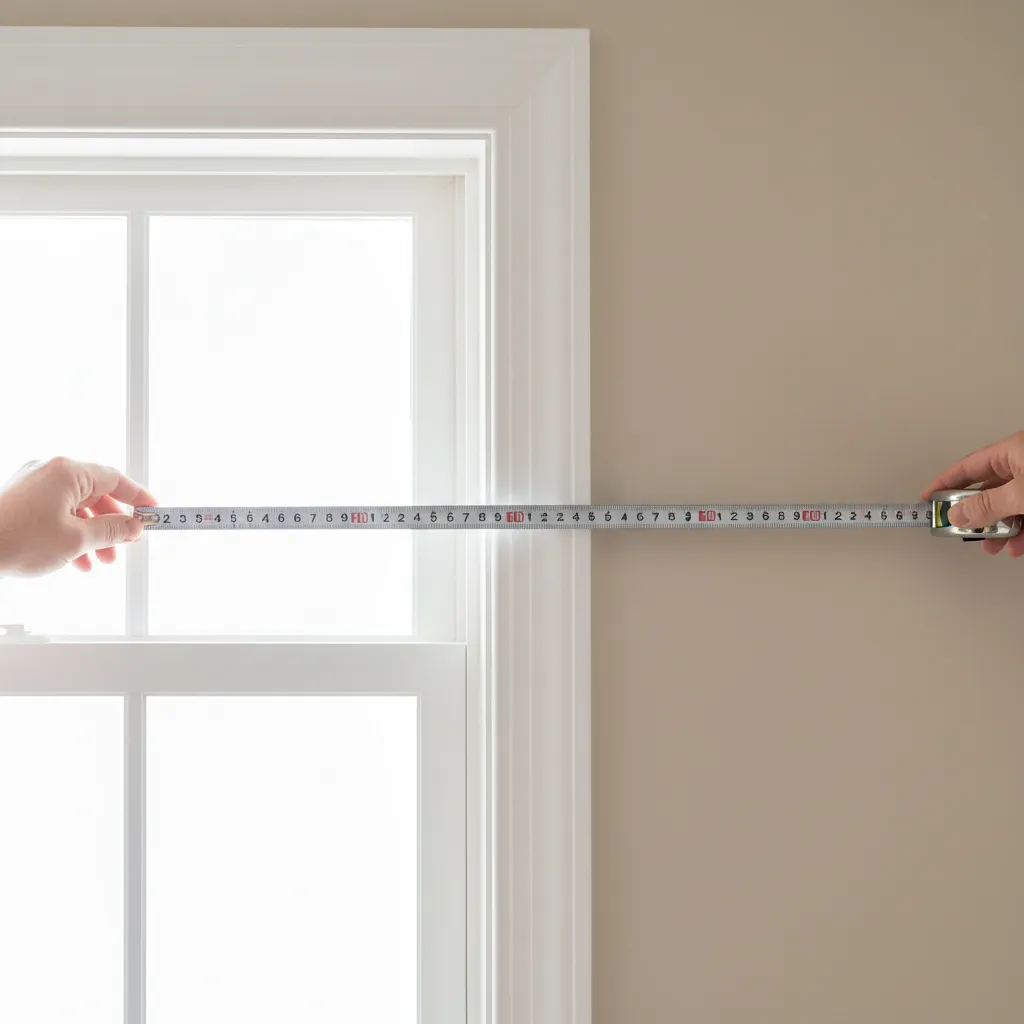
Measure the width for inside mount blinds across the top, middle, and bottom of the window frame.
This is where most people rush and regret it later. It’s also the first part of our 3×3 inside mount measuring method. For each window:
- Hook the tape on the inside left of the frame and pull across to the inside right at the top of the recess. Record the width.
- Repeat across the middle of the window. Record it.
- Repeat across the bottom. Record it.
Windows that look perfectly straight can be tighter at one spot because of settling, drywall, or older trim. Trade resources such as This Old House’s blind measuring guide also recommend taking three width and three height measurements for a reliable inside mount fit.
2. Use the narrowest width
Look at your three numbers and circle the smallest one. That’s the width you’ll use when you order.
For example, if you have:
Top: 35 1/8″
Middle: 35″
Bottom: 34 7/8″
You’ll use 34 7/8″ width.
3. Write it clearly as W × H
On your notes, record this number clearly as:
Kitchen sink window: 34 7/8″ W × ___” H (inside mount)
Always put width first. When our team at Ray Blinds reviews measurements, this single detail saves a lot of headaches.
Step 2: How to measure inside mount blinds for height
1. Measure height in three places
For height, you’ll do the same 3×3 inside mount method, but vertically:
- Measure from the inside top of the frame down to the inside bottom sill on the left side.
- Repeat from top to sill at the centre.
- Repeat from top to sill on the right.
2. Use the longest height
Now pick the largest of the three height measurements. That’s the one you’ll keep.
Example:
Left: 58 1/8″
Centre: 58″
Right: 58 3/8″
Here, you’ll use 58 3/8″ height. This makes sure the blind fully reaches the sill, even on the slightly longer side.
Your notes now look like:
Kitchen sink window: 34 7/8″ W × 58 3/8″ H (inside mount)
Step 3: Check window depth and obstructions
1. Measure the recess depth
To confirm that inside mount will actually work, check how deep your window recess is:
- Place the end of the tape against the inside glass or the point where the blind will sit.
- Measure out to the front edge of the frame or drywall.
- Note the shallowest depth you find around the frame.
As a general benchmark, many standard inside-mount roller or zebra shades like to see roughly 2″–2½” of usable depth, while slimmer honeycomb shades can work with a bit less. Exact requirements vary by product, so during a free in-home consultation we confirm the real minimum depth for your chosen blind and suggest slimmer options or an outside mount if needed.
2. Note handles, locks, and cranks
Watch for:
- Window cranks on casement windows
- Locking latches that stick out into the opening
- Security bars or grills
Write these down. They help us decide whether a low-profile cassette, spacer brackets, or even an outside mount would work better.
Step 4: Check if your window is out of square
Every once in a while, you’ll find a window that’s more like a trapezoid than a rectangle. This is where people often ask, “How do I measure for inside mount blinds if my window isn’t perfectly straight?”
The good news: you’ve already done the hard part. If your three width numbers are quite different (for example, more than 1/4″ apart), note:
- Which side is tighter
- Which side is taller
- How big the difference is
We’ll usually build the blind to fit the tightest point and explain where a small light gap might show. In some severe cases, we might recommend outside mount instead for a cleaner result.
Special cases: bay windows, patio doors, and more
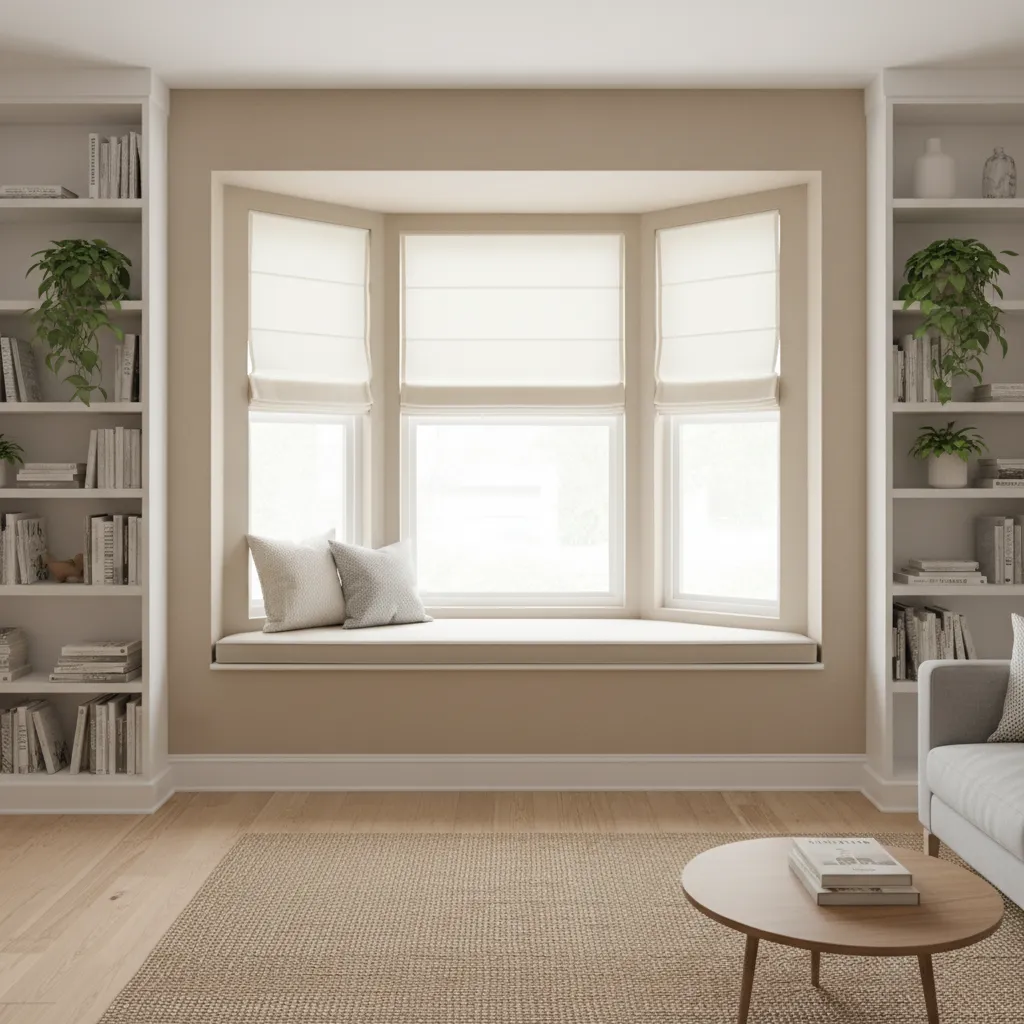
Bay windows can be measured for inside mount blinds by treating each section as its own opening.
Bay and bow windows
For bay or bow windows, measure each individual section as its own window using the same 3×3 inside mount method. Label them clearly:
Living room bay – left
Living room bay – centre
Living room bay – right
Patio doors and tall windows
For tall inside mount blinds over patio doors, depth and clearance matter even more. Note:
- If the handle sticks out into the opening
- If the door slides past the frame where brackets would mount
Many homeowners choose vertical blinds or vertical sheers for large doors, but the measurements you’ve taken above still apply.
Measuring in centimetres
If you’d rather work in centimetres, that’s fine. Measure to one decimal place (for example, 89.2 cm). Just don’t mix inches and centimetres on the same sheet.
Common measuring mistakes to skip
After years of in-home visits around Surrey and Vancouver, we see the same issues repeat. Avoid these in your own measurements:
- Only taking one measurement each way. Walls and frames move over time; three width and three height checks keep you safe.
- Rounding up instead of down for width. For inside mount, extra width means scraping. Use the narrowest width.
- Mixing up width and height. Always write sizes as W × H and label them “inside mount.”
- Using a fabric tape. Fabric stretches; a steel tape stays accurate.
- Forgetting frame depth. Even perfect width and height won’t help if there’s not enough recess for the headrail.
- Ignoring locks and cranks. Handles that hit the blind can limit how far it rolls down.
- Not thinking about safety. If you have kids or pets, choose cordless or motorized blinds and review blind-cord safety advice from Health Canada and the Window Covering Safety Council (WCSC).
Health Canada reports child deaths and near-strangulation incidents from window-covering cords in Canada, and notes that even relatively short lengths of cord can be dangerous if a loop forms. Choosing cordless or inaccessible-cord designs is the safest option in homes with young children.
As one real-world example, a Surrey homeowner we visited had measured only once with a fabric tape. The blinds arrived too tight on one side and couldn’t raise smoothly, so the order had to be remade. A quick 3×3 check with a steel tape on the second visit fixed the problem and gave a much cleaner fit.
FAQs about how to measure for inside mount window blinds
How do I measure for inside mount blinds if my drywall is a bit uneven?
Use the same three-width, three-height approach and write down where the frame is tighter or taller. If the numbers vary a lot, take a quick photo of the window and your notes. When we visit for a measurement check, we’ll review your window on-site and show you how the blind and hardware will sit against slightly uneven drywall.
Should I make my own deductions from the width?
If you’re ordering locally with Ray Blinds and we’re installing, you can give us your exact inside frame measurements. We’ll confirm everything on-site and apply our own manufacturing deductions for the specific product you choose.
What if my window is very shallow?
In very shallow vinyl windows, we often suggest:
- A slimmer product such as a basic roller or honeycomb shade
- Outside mount installation above the frame for full movement
If you’re unsure, book a free in-home consultation, and we’ll measure and show both inside and outside mount options on the spot.
Do these steps work for all types of blinds?
Yes. The same 3×3 method works for faux wood blinds, roller shades, honeycomb shades, and zebra blinds. Headrail depth and hardware vary by product, but your width and height measurements stay the same.
Where can I read more about blind safety?
For an extra layer of peace of mind, especially in homes with children or pets, review guidance from the Window Covering Safety Council (WCSC), the Window Covering Manufacturers Association (WCMA), and Health Canada’s blind-cord safety page linked above.
Next steps: from measurements to finished blinds
By now, you have a clear record of each window’s width, height, and depth—the same checklist we use during our professional measurements too. With those numbers in hand, you can:
- Compare quotes between different blind types (zebra vs roller vs honeycomb)
- Decide where inside mount works and where an outside mount makes more sense
- Share your measurements during a Ray Blinds in-home visit so we can confirm and fine-tune them
If you’d like a second set of eyes before committing, send us your notes and a couple of photos. We’ll sanity-check your 3×3 inside mount method measurements and then come out to take final, to-the-millimetre measurements before anything goes into production.
When the tape work is done right, the finished blinds feel like they were built with your windows in mind from day one—and that’s exactly the result we aim for in every home we visit.