

Privacy matters, especially when the neighbour’s kitchen window lines up perfectly with your bathtub. Add in steam, splashes, and a tight window ledge, and suddenly choosing and installing the right bathroom window shades feels a lot less straightforward.
The good news: with a bit of planning, you can get a snug, professional-looking fit that blocks peeks from outside, stands up to moisture, and still lets in natural light. In this guide, our installers break down how to pick the right bathroom window treatments, measure accurately, mount brackets, and seal gaps so your window looks like it was done by a pro – whether you’re in a Surrey condo ensuite or a North Vancouver family bathroom.
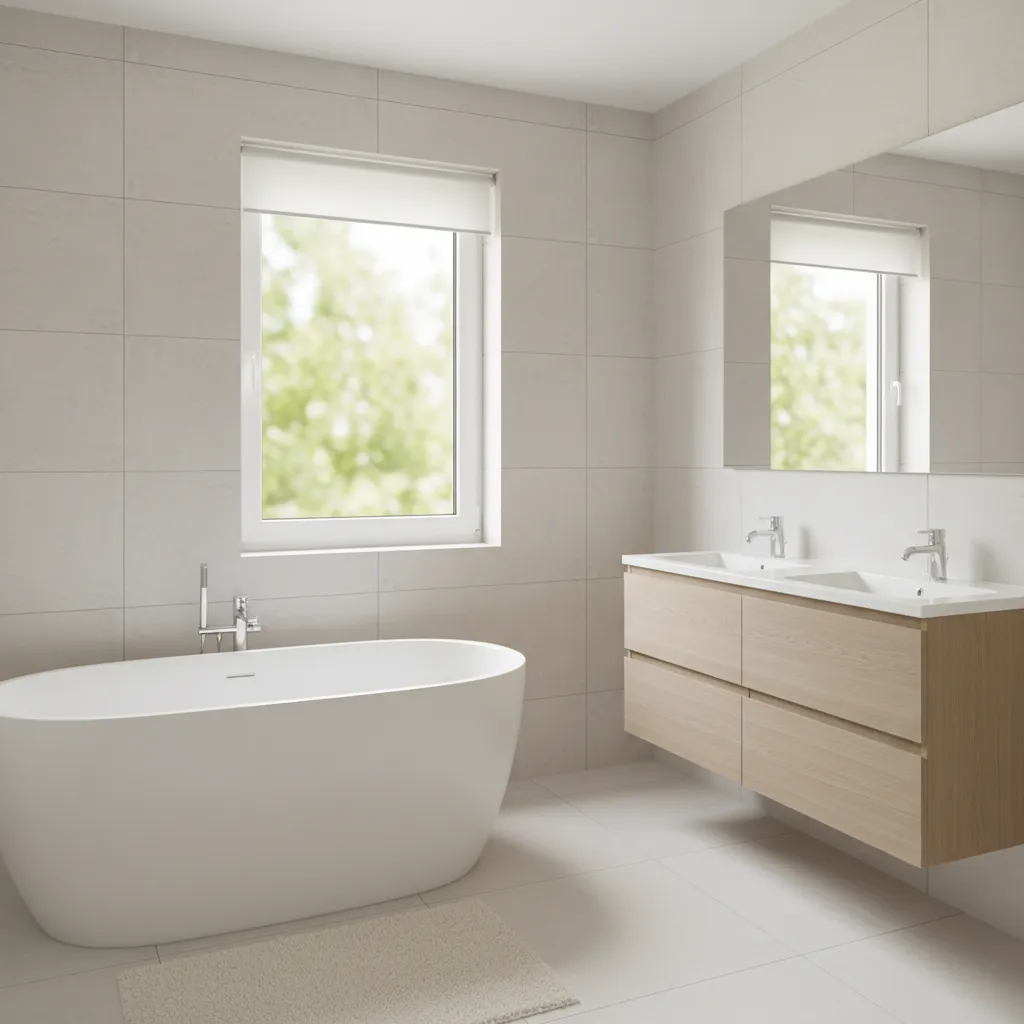
A clean, moisture-smart bathroom window shade installation can give you privacy without losing natural light.
TL;DR – quick bathroom installation checklist
- Pick moisture-resistant materials (faux wood, vinyl, aluminum, or specialty fabric shades) instead of real wood.
- Decide on inside mount for a clean look, or outside mount for extra privacy and light blocking.
- Measure width in three spots and use the smallest number for inside mount; add overlap for outside mount.
- Use stainless or corrosion‑resistant screws and anchors suitable for tile, drywall, or PVC frames.
- Test operation fully, then caulk around the frame or trim to seal drafts and moisture‑prone gaps.
- In humid Lower Mainland bathrooms, run the fan and wipe condensation to keep mould away. Health Canada guidance on moisture and mould in homes.
What makes bathroom windows tricky?
Bathroom windows aren’t like living room windows. You’re dealing with:
- Constant humidity from hot showers, which can warp real wood and cheap metal hardware.
- Direct water contact if the window sits inside a tub or shower alcove.
- Privacy at eye level, especially in ground‑floor or tight urban lots.
- Condensation on cold glass can drip behind poorly fitted blinds and feed mould on sills and drywall.
That’s why pros treat bathroom windows as their own category. The right product and a tight installation keep water off the frame, protect your trim, and make the room feel finished instead of “temporary curtains and crossed fingers.”
If you’re still at the planning stage, start by looking at moisture‑resistant options like our faux wood blinds for bathrooms before you grab the drill.
Step 1 – Choose the right bathroom window treatments
Best materials for humid bathrooms
In bathrooms, material choice matters just as much as style. Here are tried‑and‑tested options our Surrey and Vancouver customers tend to love:
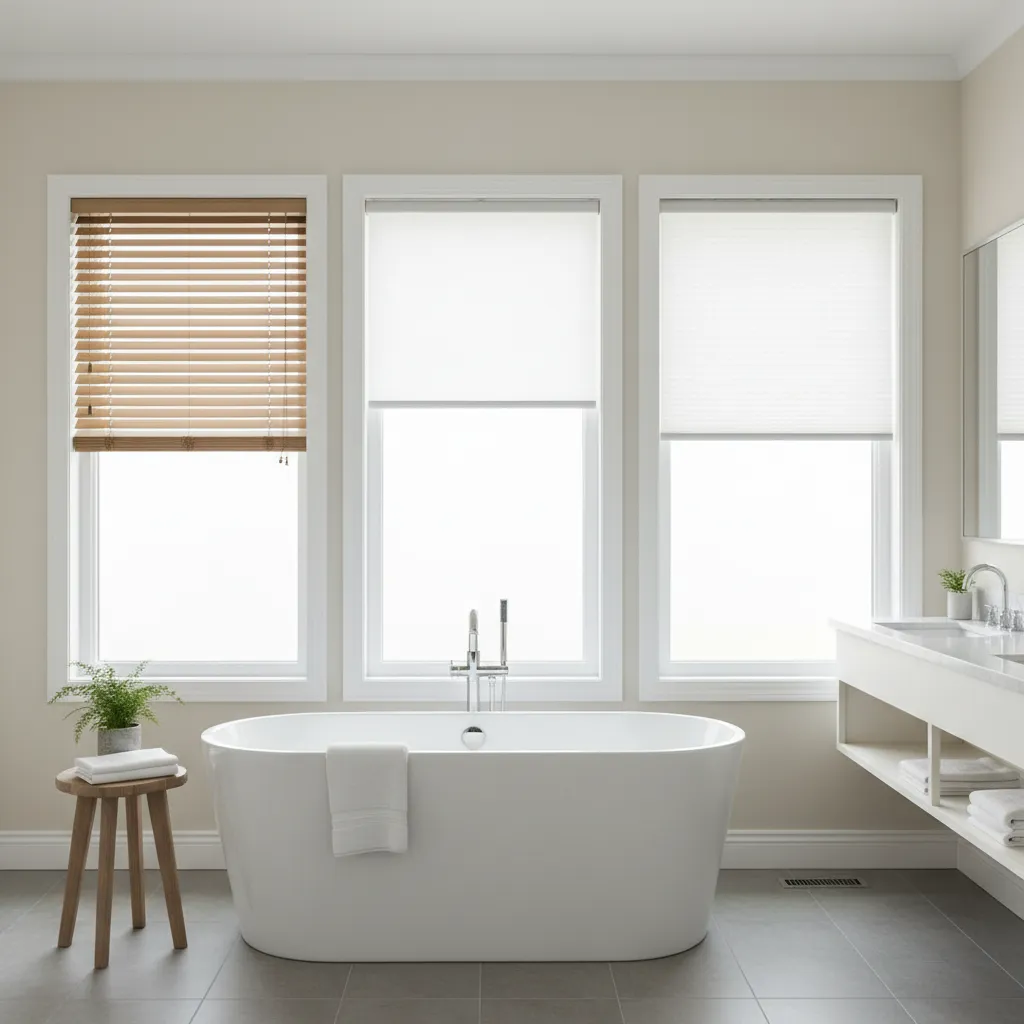
Faux wood blinds, vinyl roller shades, and cellular shades are all popular bathroom window shade options.
- Faux wood bathroom blinds – Made from PVC or composite materials, they look like painted wood but don’t swell, peel, or crack in steam. Great for classic looks and windows that get some splashes.
- Vinyl roller blinds – Sleek, minimal, and easy to wipe down. They work especially well for small bathrooms and narrow condo windows, and many styles use PVC or vinyl-backed fabrics.
- Cellular (honeycomb) shades – Help with insulation on chilly exterior walls and come in light‑filtering or blackout options—handy for people who shower before sunrise.
- Sheer or zebra shades – Better for powder rooms than full bathrooms; beautiful, but fabric needs more care around steam.
- Bathroom shutters – Durable and structured, with excellent privacy. We usually specify moisture‑resistant finishes for full baths.
Inside mount vs outside mount for bathrooms
Before you can measure, you’ll need to decide how the treatment sits on the window:
- Inside mount – The shade or blind sits inside the window frame. This gives a clean, built‑in look and keeps the treatment away from shower spray, but it can leave small light lines at the sides.
- Outside mount – The headrail installs on the wall or trim above the opening. This covers more of the wall, hides an uneven frame, and blocks more light and sightlines—useful for street‑facing bathroom windows.
For tight tiled openings over tubs, we often recommend an inside mount with moisture‑resistant faux wood or vinyl. For older, out‑of‑square frames that collect condensation along the sides, an outside‑mounted roller or cellular shade can cover sins and seal better against drafts.
Step 2 – Measure like a pro (inside vs outside mount)
You don’t need fancy tools—just a metal tape measure, level, pencil, and a notepad or phone. Measure in millimetres or 1/16″ increments for accuracy.
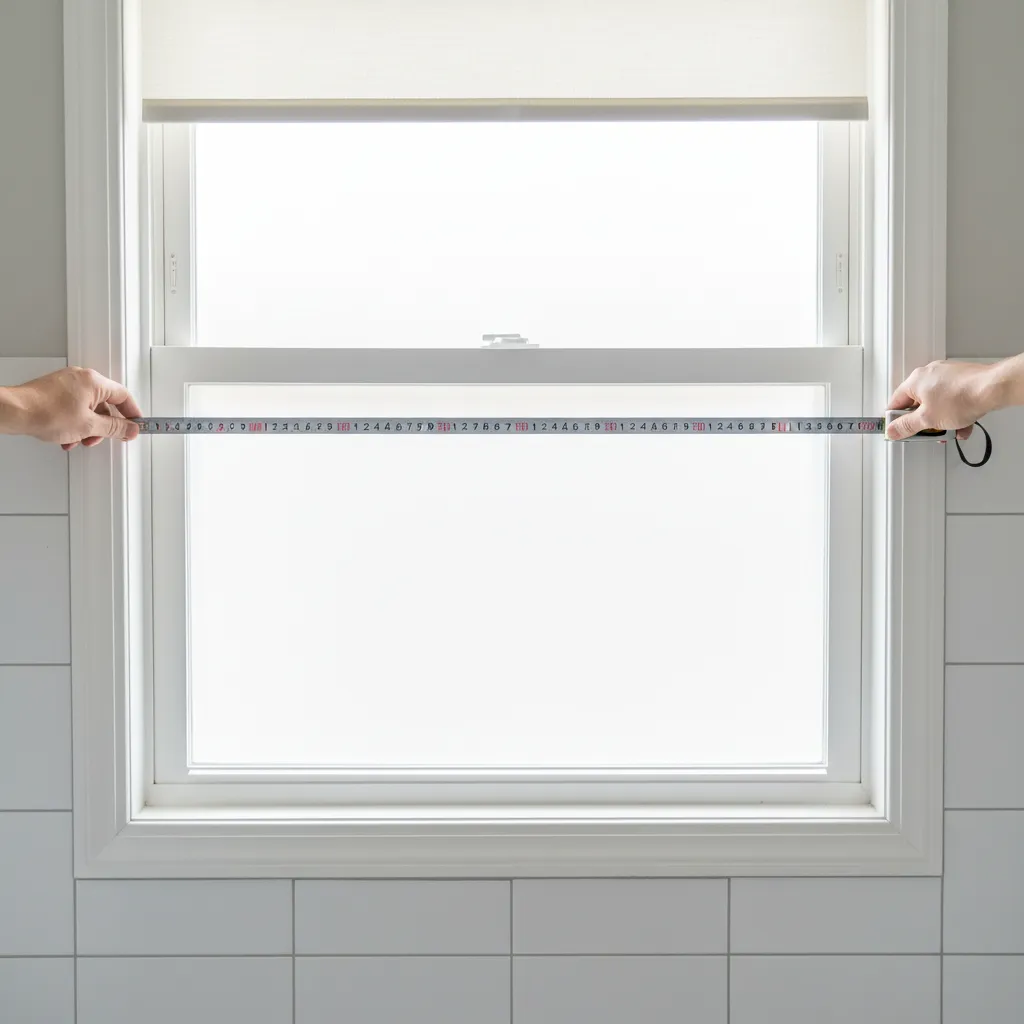
Accurate measurements of your bathroom window opening are the foundation of a snug, pro-looking shade installation.
How to measure for an inside mount
- Measure the width at three points: top, middle, and bottom of the opening. Note all three numbers and use the smallest as your “final” width.
- Measure the height at three points: left, centre, and right from the top of the opening down to the sill or tub ledge. Use the largest number as the height.
- Check frame depth: measure from the front of the frame back to the glass. Compare this to the minimum depth required for your chosen product, check the product page for minimum depth requirements.
- Note any obstacles: tiles that stick out, handles, or vents that could interfere with the shade.
When you order with us, we build in the tiny factory deductions needed for smooth operation, so you just give us the opening size and mark it as “inside mount.” If you’re ordering online elsewhere, check whether they want finished size or raw opening size; the wrong choice here is one of the easiest ways to end up with gaps.
How to measure for an outside mount
- Width: measure the glass + frame, then add 1.5″–3″ (4–7.5 cm) on each side to reduce light gaps and sightlines. Go wider if privacy is a big concern or if the frame is crooked.
- Height: measure from where you want the headrail (often 2″–4″ above the frame) down to the sill, tub ledge, or slightly below the bottom of the trim.
- Check for obstacles above: tile borders, crown moulding, or showerheads that could block the headrail or brackets.
A simple rule: if a warped frame or old caulking line is driving you up the wall, outside mount usually hides more of it and gives you more flexibility with sealing later.
Common measuring mistakes in bathrooms
- Measuring drywall instead of the actual opening.
- Ignoring tile thickness, which can steal precious depth for inside mounts.
- Not checking for square—large differences between top and bottom widths can signal an out‑of‑square window.
- Forgetting to account for handles, shower fixtures, or existing grab bars.
If measuring stresses you out, book a free in‑home consultation, and we’ll handle it, clipboards and all.
Step 3 – Mounting your shades or faux wood blinds
What you’ll need
- Drill with appropriate bits (masonry for tile, wood for trim, metal for aluminum)
- Stainless or corrosion‑resistant screws and anchors
- Level and pencil
- Step stool or ladder
- Safety glasses
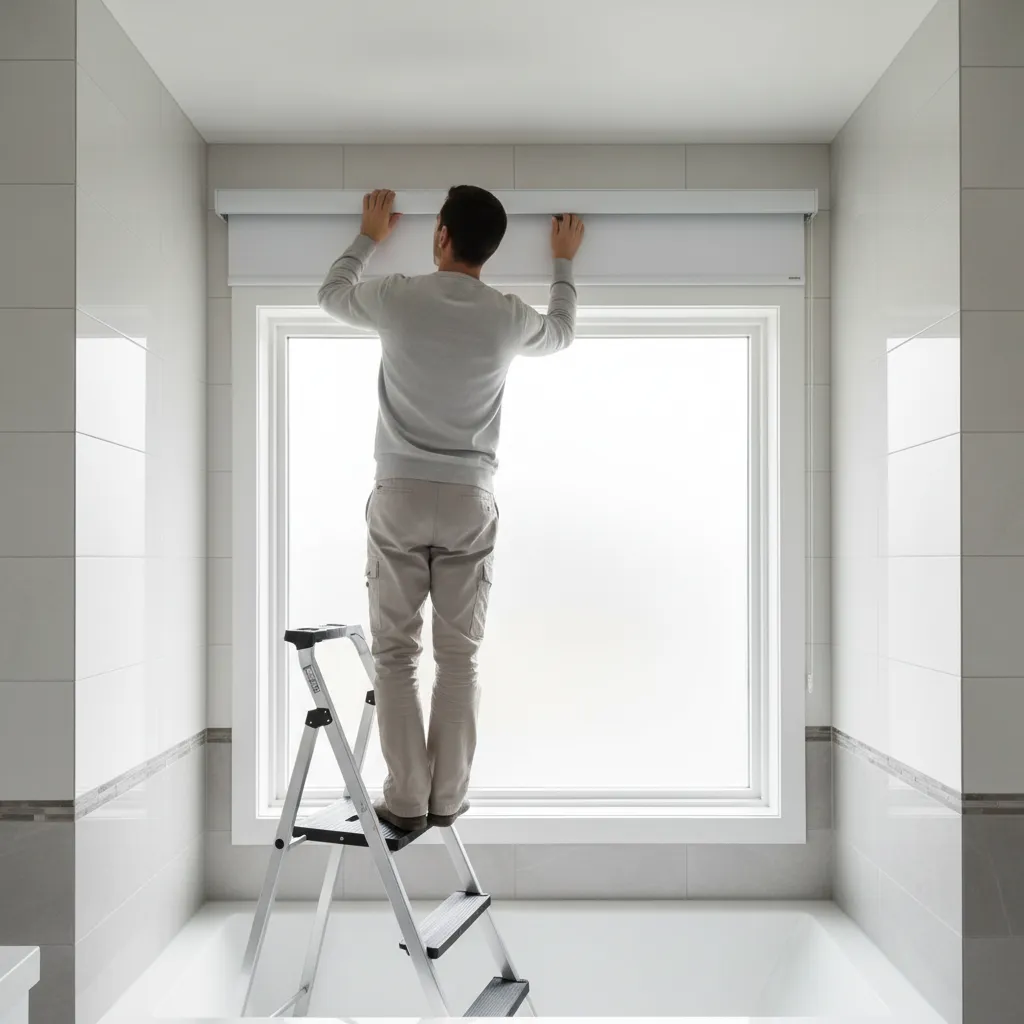
Careful bracket placement and level mounting keep your bathroom window shades operating smoothly over time.
Install the brackets
- Mark bracket positions: Hold the headrail up where it will sit. Mark the bracket locations on both sides (and any centre support bracket if the window is wide).
- Check for level: Use a level across the bracket marks. A slightly crooked headrail is ten times more noticeable in a tiled bathroom than in a living room.
- Drill pilot holes: For tile, use a masonry bit and gentle pressure; for vinyl or wood, a standard bit is fine. Stay clear of the window’s edge to avoid cracking.
- Attach brackets: Use stainless or rust‑resistant screws. In damp coastal climates, this small step pays off a few winters down the road.
Attach the shade or blind
- Clip in the headrail: Tilt the headrail into the back of the brackets, then snap the front into place according to the manufacturer’s diagram.
- Test operation: Raise, lower, and tilt (for blinds) several times. Make sure nothing rubs on tiles, taps, or the tub edge.
- Check clearances: For tub or shower windows, pull the shade down fully and simulate a shower—does water spray directly on the fabric or slats? If yes, you may need a different material or mounting height.
If you have small kids or pets, ask about cordless lift systems. Modern cordless and motorized options give a cleaner look and meet current safety guidelines without cords hanging over the tub.
For inspiration, take a look at some of our recent Surrey & Vancouver installs to see how different products sit over tile, tub decks, and narrow bathroom window ledges.
Step 4 – Sealing gaps, steam, and condensation
Once your shade or blind is up and running, the finishing touches make the difference between “okay” and “wow, that looks built‑in.”
Dealing with light lines and privacy gaps
- Side light gaps: Common with inside‑mounted rollers or cellular shades. For maximum privacy, consider side channels or switch to an outside mount that overlaps the frame.
- Top gaps: Outside‑mounted shades should sit high enough to clear trim but low enough to cover the frame. If you see a bright stripe at the top at night, you may be able to lower the brackets slightly.
- Bottom gaps: Make sure the bottom rail touches the sill or ledge. If there’s a gap, check if the product has adjustable stops.
Caulking and sealing around the frame
Even the best window treatments can’t compensate for a leaky or poorly sealed frame. After installation:
- Inspect the caulking around the window where it meets tile, tub surround, or drywall.
- Fill small cracks or gaps with a high‑quality, paintable bathroom‑rated caulk.
- Wipe up excess immediately so it doesn’t interfere with bracket hardware.
Health Canada and the US Environmental Protection Agency both point to moisture around windows as a contributor to mould growth, especially when condensation is left sitting on sills and frames.
Managing moisture day‑to‑day
- Run the bathroom fan during showers and for at least 20–30 minutes afterwards.
- Crack the window when the weather allows, especially in busy family bathrooms.
- Wipe visible condensation from glass and sills before you raise shades or blinds.
- Give faux wood bathroom blinds and vinyl shades a quick wipe with a mild soap solution every few months to keep mildew at bay.
These habits, paired with a snug install, keep your bathroom window treatments looking fresh far longer—especially in damp coastal climates like the Lower Mainland.
When to call in the Ray Blinds team
Some homeowners love a weekend project. Others would rather skip the ladder and let an installer wrestle with the tile drill bits. Here are a few signs it might be worth bringing us in:
- Your bathroom window sits inside a tiled shower or above a deep tub.
- The frame looks crooked, or the wall has settled, and nothing is level anymore.
- You want motorized or smart shades integrated with your phone or voice assistant.
- You’re fitting multiple bathrooms at once and want a consistent, custom look.
In our free in‑home visit, we’ll measure every window, talk through privacy, light, and moisture concerns, and recommend products that suit how you actually use the room—not just how it looks in a showroom. Then our in‑house team manufactures and installs your blinds or shades for a clean, long‑lasting fit.
FAQ: window treatments for bathroom windows
Are faux wood bathroom blinds safe to use in a shower window?
Faux wood slats handle humidity much better than real wood, but they still shouldn’t sit in standing water. For windows inside a shower or right over a tub, we usually recommend vinyl roller shades, PVC shutters, or a waterproof liner behind the main treatment.
What window treatments give the most privacy in a bathroom?
For full privacy at night, look for:
- Room‑darkening or blackout roller shades with an outside mount.
- Cellular shades with a tight fit and an opaque fabric.
- Faux wood bathroom blinds with slats tilted fully closed.
If your bathroom faces a street or nearby neighbours, we often combine a privacy treatment with frosted glass or window film for extra peace of mind.
Can I use fabric Roman shades in a full bathroom?
You can, but expect to give them more care. Fabric holds moisture longer than PVC or vinyl, so they’re best in well‑ventilated bathrooms where the window doesn’t sit near the shower. For powder rooms, they’re a lovely option; for steamy en-suites, most of our clients end up happier with vinyl, faux wood, or cellular shades.
How do I clean bathroom window treatments without damaging them?
- Faux wood blinds: Dust regularly, then wipe with a damp cloth and mild soap when needed.
- Vinyl or PVC rollers: Lower fully and wipe gently with a soft cloth and diluted dish soap.
- Cellular shades: Use a vacuum brush attachment on low suction; spot clean with a slightly damp cloth.
Skip harsh chemicals and soaking, which can damage finishes or loosen adhesives over time.
Still not sure what will hold up in your specific bathroom? Book a quick visit, and we’ll bring samples you can see against your tile, paint, and fixtures.
Need help with your bathroom windows?
If you’re in Surrey, Vancouver, or the Lower Mainland and want bathroom shades or blinds that look custom and work flawlessly, the Ray Blinds team can handle measuring, manufacturing, and installation for you. Get a free quote